Showing posts with label what i made. Show all posts

Wednesday, June 19, 2013

Saw it, Pinned it, Win it


My niece and nephew both have birthdays in May but we were waiting until they visited in June to celebrate.  I decided to make them something for their gifts and wanted to make Lena an apron.  I saw lots of tutorials online, but I always think most of them look harder than what I want to do so I just made one myself.  

Like most of my projects I didn't measure things, but still took pictures in case you want to make one yourself!


1. Cut out two pieces for the front and back of your apron in an "apron" shape. 
2. Cut out a rectangle for the pocket.
3. Fold down and iron all four sides of the rectangle.  Sew the top side down and leave open on your apron.  Then sew down the other three sides. 
4. Cut out two long stripes for the side ties.  Fold them in half and iron down.  Sew them alone the edges and along one skinny side.  Flip inside out. (This is time consuming and kind of annoying!)
5. Make another strip for the neck doing the same thing.  Lay your apron pieces back to back and put your ties laying on the inside because you are going to flip the whole apron right side in when you're done. 
6. Only a little of each tie should be sticking out.  Pin and sew along the edges leaving an opening to turn it right side in.  Hand sew your hole shut.  

I hope that makes sense! I know I fail a little at thorough directions, but overall it was pretty simple. 

For my nephew's gift I made him a car caddy following this tutorial.  I didn't print out the pattern for the car but just made my own, as I made it a little different size.  I love how it turned out!


Now for the win it part! It actually has nothing to do with those two projects but it sounded good for the title.   And I think you'll like winning these prizes more than the gifts I made.  One lucky winner will win all this from my June sponsors.  If you're wanting to be a part of next month's giveaway, check out my sponsor information here!

Delilah Bib Necklace from Curated by Kelly

$10 Starbucks giftcard from Hooah and Hiccups

Nordstrom "Botanical Scarf" from Stay Blonde Ski Local

forlaurenandlauren
$15 Design Credit to Olive & Ivy Designs

$10 Ulta Gift Card from Texas Mrs.

$10 Starbucks Gift Card from Sunny Tails & Happy Mail

Item of your choice from CJ's Craft Corner & $5 Starbucks Gift Card


Photobucket

Linking up to: saw it, pinned it, did it


Pin It!

Sunday, June 2, 2013

Baby Bedding & Curtains

I am so happy with how our nursery is looking and it has definitely become my favorite room in our house!  I looked at a LOT of bedding and curtains online and at stores and couldn't find any that I loved, let alone any that I wanted to spend that much money on.  I'm so happy I decided to make my own!


I wanted these curtains to be to the floor but am terrible at measuring fabric.  It's more like I don't measure and just think a yard is bigger than it is.  I got 5 yards so each panel is 2.5 yards and was just each for just the window length. 

(And let me first apologize for my messy room and really gross ironing table.)

Lay out your panels and make sure they are the same size. 


 Take one side and iron down about 1/4 inch of fabric.


Fold it over again and iron down. Then sew right down the middle of your double fold.


Do this to the left, right and bottom of your panel.  Take the top side and iron down once.  


Fold over as big of a space as your curtain rod will be, plus a little extra.  Mine was 2 inches. 


Do the same to the other panel.  


For the baby bedding I really didn't follow a tutorial nor did I take pictures as I went, as I really wasn't sure what it would turn out like or what I was really doing.  Thankfully it all worked and was pretty easy!


For the bed skirt I made three rectangles, following the same steps as the curtains, to double fold and hem the three sides.  I was going to sew them to a piece of fabric in the middle but know that we'll soon be lowering our crib and I didn't want to have to re-hem it again.  So like a professional seamstress I have three separate panels and taped them to the wood under the mattress of the crib.  This way I can just move up each panel when we lower the crib.  


I bought a plain bumper panel at IKEA for $10.  Again I had some measuring issues and had to go back to the store for more fabric.  I made three separate tubes and sewed them together.  Then I put the bumper on the crib to mark where the ties would go and sewed those in.  

Sounds quick but this one took me a really long time!  (And I know bumpers are pretty much a no for baby cribs.  Thankfully if I pull it down all the way it barely sticks up from the mattress so I feel just find about using it!)


I think my favorite part of the bedding is the quilt and pillow.  I saw a similar pillow and blanket on etsy that was SO expensive.  I made both for under $20.  No tutorial for this but if you wanted to know how I made it feel free to ask! 

Her room is just about all ready to go! Now we just need the real stuff like a carseat and stroller. :)

Photobucket


Pin It!

Wednesday, May 29, 2013

Can I even call this a DIY project?

This project was so easy I'm not even sure it qualifies as a real DIY project, but I love it and figured I needed to share it with you anyway. 

I saw baskets similar to this online at pottery barn (of course I can't find them now to share) for over $25 and would not pay that much so I made my own for $12!


I found my basket at Hobby Lobby and used a 40% off coupon so it was only $10.  The chalkboard tags come in packs of 10 and they were $2. (I have more baskets in the closet that I plan to label with these.)  I already had the rope, hole puncher and chalk.  


I took one chalkboard tag, wrote toys on it, punched two holes on the side and tied it to the basket.


At this point you're probably wondering why I would even include directions to this.  I don't know either. I'm sure you would be smart enough to figure it out, but I wanted to write about accomplishing a project so here it is.  

And in case that isn't exciting enough for you I have a blogger friend to introduce you to.  Nadine is the sweet and beautiful girl behind Back East Blonde, where she blogs about her life with her puppy and her boyfriend on the east coast.  Today she is sharing with you the difference between what you may say your favorite book and what your real favorite book is.  I definitely enjoyed reading it and agree with her on a few of her favorites too!
Have you ever asked someone what their favorite book is? 

This question usually only comes up in a situation where you've run out of things to talk about and are pulling out all the stops to avoid awkward silence. Or you're at a book club meeting. 

Everyone has a book that they say is their favorite book. But they're lying.

The book inevitably makes them sound smarter than they are. It's almost like there is a list of books that are supposed to be your favorites. The socially acceptable favorites. My go-to is To Kill a Mockingbird. It was one of the only books I read in school that I sort of enjoyed.


I'm sure there are more that go on this list. Just insert any classic that I undoubtably read the SparkNotes version of in high school.

But the truth is, my actual favorite books would never be read in the classroom. In most social situations, if I claimed these were my favorite books, I'd get a giggle or two. 


1. Is Everyone Hanging Out Without Me? By Mindy Kaling

I laughed out loud through most of this book. Just a warning in case you were planning on reading it with anyone else around. I want Mindy as my BFF. It's because of this book that I became a devout fan of The Mindy Project. 

2. BossyPants by Tina Fey

If you didn't have enough laugh out loud moments from Mindy, then Tina's your girl. I liked her on SNL, I loved her as Liz Lemon, but the real Tina, she's my favorite.

3. Firefly Lane by Kristen Hannah

I like to call this a "beach read." A professor of literature might call it trash. You could also call it therapy. This book is a story. It sweeps you away and you forget you are reading for hours. It got me through my worst breaks up ever. For that alone, it will always be on my list.

4. Anything by Nicholas Sparks

Have you ever thought about the fact that this man has a wife? If he's one tenth as romantic in real life as his books are, I think he should be traveling the country providing lessons to the men of America. I'd send my guy. Just sayin'.

5. Harry Potter by J.K. Rowling.

Duh. I re-read the series every few years. I love it. I'm also frequently judged for having a framed replica Harry Potter wand on my wall. Some call it over the top. I call it awesome. [Note: I'm sure this is read in some schools. But it will never replace the classics, even if it should]

For the three people who read this post who swear that some classic is your favorite book, I applaud you. The reality of reading is this: read what you enjoy. Happy summer reading!

Thank you Nadine!! And I'm pretty sure my sister just may be one of those three people so I'm curious to see what she says!  

Don't forget to go visit Nadine and her cute blog!  Hope you are having a good week!

and if you haven't entered to win $50 to Kintage, do that here!


Photobucket


Linking up to: Saw it, Pinned it


Pin It!

Wednesday, May 8, 2013

DIY Flower Lamp Shade


I am so happy to have finished this project, as it took quite awhile! It's one of those projects that you don't know if you would've started if you knew how long it took.  BUT I am so glad I did because I love it.  

I saw this pin on pinterest but there wasn't a tutorial attached to it, so I made my own.  Really easy directions, just time consuming! 

I found this lamp shade at Hobby Lobby and it was awesome because it has this paper on the outside that you peel off and the shade is sticky.  It's meant for you to put fabric around it, but worked really well because the flowers just stuck right on.  And it was only $4 (with a 40% off coupon).  

I probably used about 2 yards of fabric.  I always underestimate fabric and had to go back and get some more!   A friend gave me the base, as she wasn't using it anymore.  


First cut thin strips off fabric, about an inch thick.  They should be different lengths, as you are going to need different sided flowers to fit in your different spots.  I would just cut a few stripes at a time to see what size I wanted next.  

Take one strip and make your flower.  Start twisting the fabric, almost in a little ball and then twist and turn it around a few times.  Use your glue gun to glue in place.


Keep on twisting your fabric around the flower and glue every once in awhile.  Since the whole flower was going to be glued or stuck on the shade,, I didn't glue all too many times.


At the end glue the extra little fabric to the back.


Stick or glue onto your lamp shade.  I only made a flower or two at a time and then stuck them on as I went.  That way I could know what size flower I needed.  


And keep going for many many more hours!  All while you watch some good tv like Sister Wives or The Real World.  Quality reality tv makes it go faster. :)  


I LOVE how it turned out and despite the time, am glad I made it!

Photobucket

Linking up to: Saw it, Pinned It
Pin It!

Tuesday, April 23, 2013

DIY Polka Dot Tee

shirt: shade clothing - DIY polka dots    pants: walmart   necklace: old navy  shoes: target

I'm pretty sure I've developed a slight obsession with polka dots.  I love to wear them and am filling baby girl's room with them.  


I followed this tutorial and I used the same spray can top that I used for these canvases to make my dots.  I've become pretty good at making these polka dots.   I didn't do the back like she did or the sleeves and can only chalk that part up to a little laziness and not wanting to make any more polka dots.  The front is way more important anyway, right? 

Every once and awhile I feel the need to tell you how much everything cost in my outfit, so here it is:

maternity tee: $4
pants: $10
wedges: $6
necklace: $3 

I should probably do it more often and maybe someone would hire me as their personal shopper. 

Photobucket
Pin It!

Sunday, April 7, 2013

If it has vegetables it has to be kind of healthy

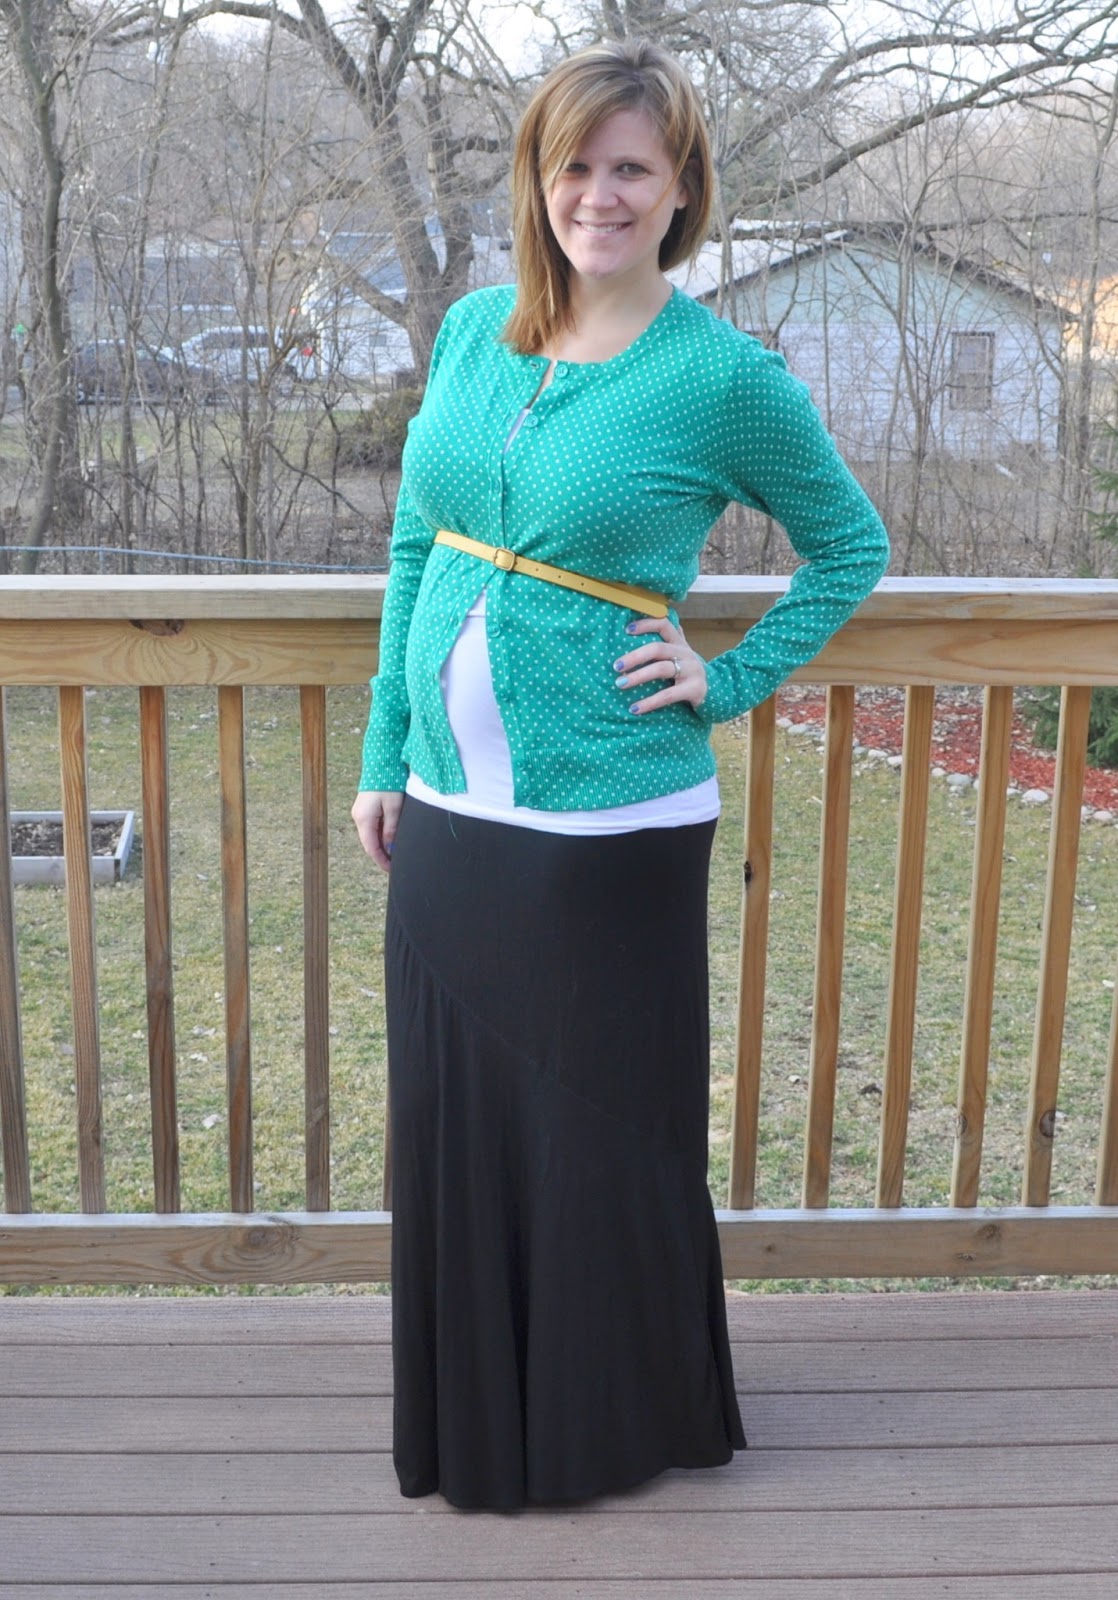
caridgan: target clearance ($6 this weekend)     belt: old navy    skirt: target  

Any dessert with fruit or vegetables means that I don't feel nearly as bad eating it and can justify eating extra helpings as I feel like there has to be a tiny bit of nutritional value it in. 

Which is one of the many reasons I love these Carrot Cake Cookie Sandwiches.  

Like very few of the recipes I use these days, this was found pre-pinterest and I therefore do not know where it came from.  I've changed a few things, but can not take credit one bit for this.  So thank you to whoever made this delicious dessert first. 


Ingredients:
1 cup unsalted butter
3/4 cup brown sugar
3/4 cup granulated sugar
2 large eggs 
1 1/2 teaspoon vanilla
2 cups all-purpose flour
1 teaspoon baking powder
1 teaspoon baking soda
1/4 teaspoon salt
1 1/2 teaspoon ground cinnamon
1/2 teaspoon ground nutmeg
1/2 teaspoon ground ginger
2 cups old-fashioned rolled oats
1 1/2 cup grated carrots (I used a bag of shredded carrots and cut them up)

Line baking sheets with parchment paper.  In a mixer, beat butter and sugars on medium speed until light and fluffy.  Add eggs and vanilla and beat on medium until well combined. 

Mix together flour, baking soda, baking powder, salt, cinnamon, nutmeg and ginger.  Whisk to combine.  Gradually add flower mixture to butter mixture, mix on low until just combined.  Mix in oats and carrots.  Chill dough for at least 1 hour. 

Preheat oven to 350 degrees.  Shape tablespoons of dough into balls and place on baking sheets.  Bake until browned and crisp around the edges, 12 to 15 minutes.  

After cookies have cooled match them up in pairs.  I used a can of cream cheese frosting for the inside.  The original recipe had a part for home made cream cheese filling, which I'm sure is better but this was way easier! 

I store mine in the refrigerator and then eat way to many of them.  

Photobucket


Pin It!

Tuesday, March 5, 2013

Random Wednesday

dress: forever 21   necklace: gift    cardigan: old navy   boots: dsw 

Thank you SO much for all your excitement, comments and congratulations when we announced we're having a girl! We really couldn't be more excited!


Despite my closed eyes I'm still sharing this picture. In honor of Dr. Suess' birthday my team dressed up as the "things" and even baby Vale got to participate.  I lost my shirt from last year, so I wore this instead.  
I finished my first baby room project. After seeing this adorable print on pinterest I wanted to copy.  I used a canvas that I already had, drew the elephant and used the top of a spray can to make the dots.  I had to use the paintbrush to go over many missed spaces and to even out the circles.


These are the colors we're planning on using for the room. I can't wait to hang it and add two others to each side.  Now to decide what to put on them! 

Hope you're having a good week!

Photobucket

Linking up to:  saw it pinned it

pleated poppy    random wednesday    style sessions


Pin It!